Build instructions downloadable games
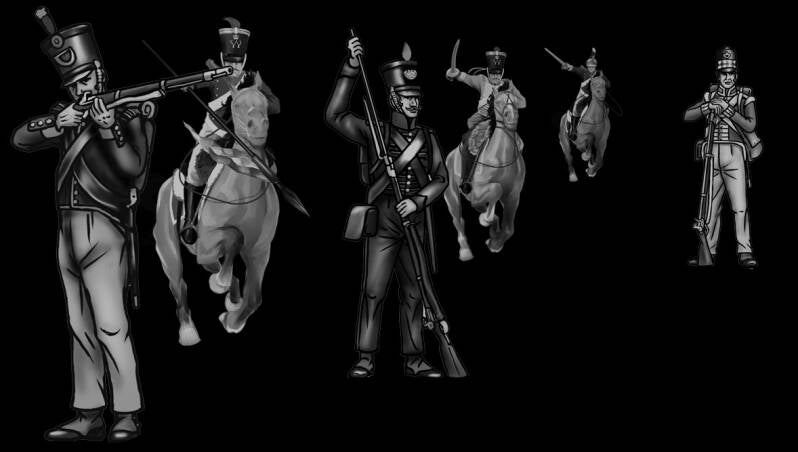
Our games are available in a downloadable printable package, both in jpeg and pdf files featuring a battle map, units and icons. You can easily print it right in your own home or at a local print shop. Assemble the armies, cut and fold the unit strips into displays, and get ready to battle – building the game is just as much fun as playing it.
For the best results, we recommend printing the package at a local professional printer store as the colors may vary when printed from the screen. Print the battlemaps on a 150-200gr or 40-54 lb poster print. For a sturdier feel, you can print the battle map directly onto materials like foam board, on Frontlit PVC Banner.
When it comes to the game pieces, it is recommended to print them on either semi-glossy or matte A4 size paper or 8.5x11 inches size paper. The maximum weight for the paper should be around 150-200 grams or 40-54 lb. You can find both formats available in pdf files for your convenience. Cut the units to size using a cutting mat, glue roller, a Stanley knife and ruler. Fold the units into the correct shape using the ruler and the horizontal strip as a guide. Glue the white parts together, pressing gently after gluing to make sure no air bubbles remain.
Some of our games also includes a sticker sheet with the icons used for 16mm dice – print these on a blank sticker sheet. We also offer a virtual dice that you can use while playing our games, the virtual dices can be found on the website section "Tools".
With these items, it's easy to build your Print Build Play game!
How to build the battlemaps
To make and print your own battlemaps, there are a few steps to follow. We also recommend to laminate the tiles once they have been printed. Lamination not only provides a professional touch to the map but also contributes to its durability and longevity. A laminated battlemap is more resistant to wear and tear, making it suitable for prolonged use during intense gaming sessions. Additionally, lamination also offers the benefit of making the battlemap waterproof.
First, ensure that you print the tiles of the map borderless. Lay them out on a flat surface with the front side facing up, and assemble them in the correct order to create the battlemap. Once you have all the tiles assembled, start taping them together. Make sure the tiles match up perfectly with the operational squares on the map. Tape each tile at two separate points, ensuring they are securely attached to each other. Repeat this process until the entire map is taped together. Once all the tiles are pre-taped and the map is fully assembled, it's time to strengthen it.
We recommend using duct tape on the backside of the map. Follow the same order and direction as before: first, apply a strip of duct tape horizontally along the entire length of the map. Then, repeat this process vertically along the lines of the tiles. This will provide added durability and stability to the map. And there you have it! You've successfully built your own boardgame battle map. Now you can use it for your tabletop gaming adventures or any other creative project you have in mind.
Enjoy!


